Last Updated on December 2, 2022 by Ellen
These tips for making a pinnable collage will help draw more traffic to your blog. Try a few of them today and watch your traffic grow.
Posts may be sponsored. This post contains affiliate links, which means I will make a commission at no extra cost to you should you click through and make a purchase. As an Amazon Associate I earn from qualifying purchases.
Pinterest can be an amazing source of traffic for your blog posts if you have a good pinnable image. Because Pinterest is such a visual social media channel, the image is usually what draws people in and causes them to repin or click through to your site.
Tips for Making a Pinnable Collage
These are the tips for making a pinnable collage that work the best for me. Everyone has their own preferences and success with different methods. Experiment until you find the methods that work best for your audience.
Image size
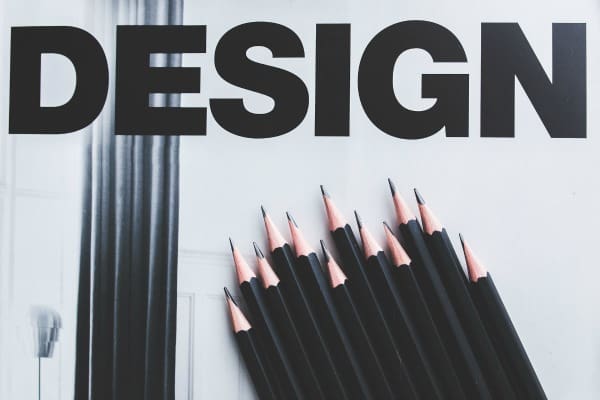
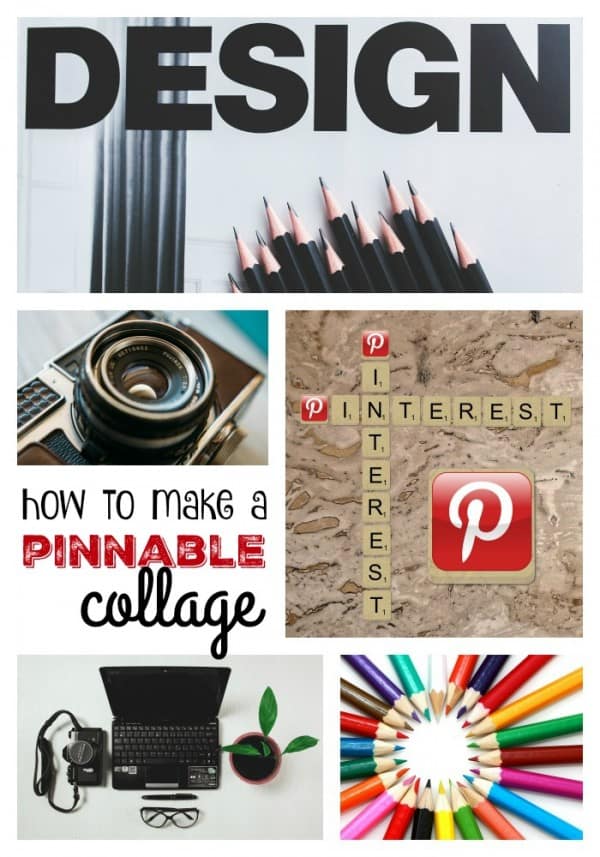
Pinnable images should be longer than they are wider. This size image gets the most attention according to studies that have been done. Ideally, your image should be as wide as your blog allows and almost twice as long. Try 700 x 1000 or 600 x 900 for the best results. PicMonkey has a specific collage for Pinterest. It’s already sized to be optimized for Pinterest. Choose that one – not a collage that is square or rectangular.
Lighting
Lighting matters. Please try to get your photos to be bright and sharp. Dark photos are hard to see even in a collage. Take your photo outside against a solid background or use a light diffuser inside. Edit using a free program like PicMonkey.com. Your photo will do best if it is high quality.
Borders
No borders. You want attention on your photograph, not on the border around your photographs. Borders are distracting and it is very difficult to make the color you choose match perfectly with the item you’re photographing. A neon green border around your food photo is not attractive. You definitely don’t want photographs with borders inside of a collage with borders.
Description
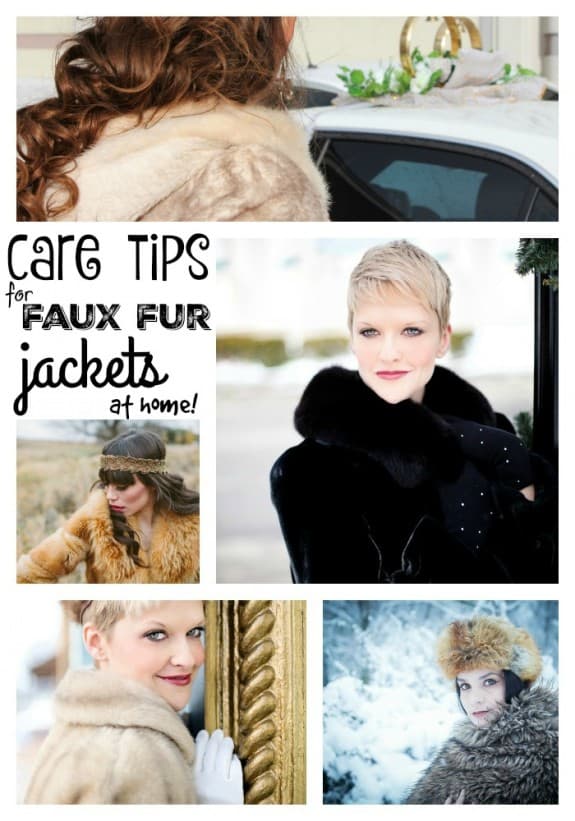
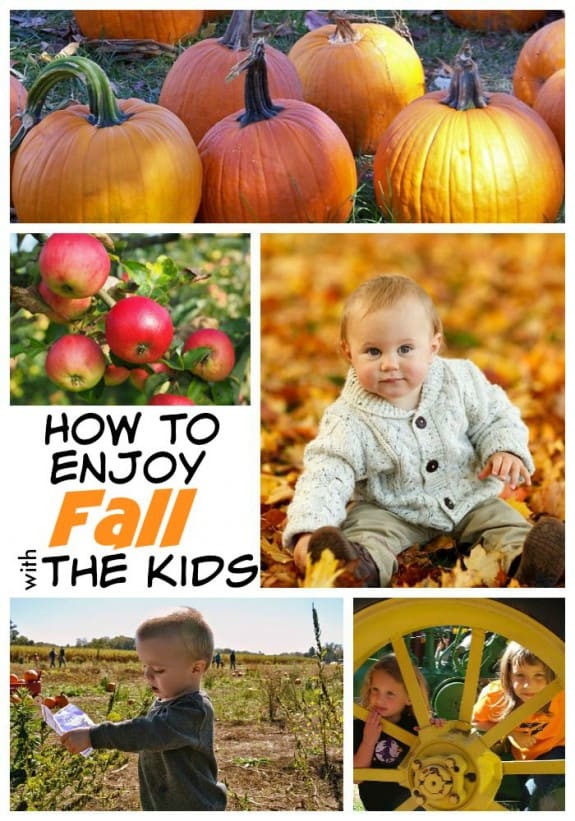
Add a description. Most photographs on Pinterest will do better if you add a title. No one has any idea what your casserole is without a title on the photo. No one knows why you are taking a picture of a mountain or your medicine chest unless you give it a title. Add a title to the part of your photograph that has a solid background so it’s easily visible. Do NOT put your title through the middle of your picture. If you’re making a collage, leave one of the collage boxes empty, save the image and then edit it to add a title. Images will stand out best against a white background.
Collage
Add smaller images to a collage. If you have a series of smaller images (like from an older post), add them to a collage. The overall size of the collage will be larger by grouping smaller images together.
Here are a few colllage examples that have worked well for me on various blogs to give you an idea:
Do you have any tips for making a pinnable collage that I’ve missed?

Ellen is a serial entrepreneur who owns 9 profitable blogs, two printable stores, an online vintage jewelry business, and a variety of other work at home endeavors. She shares tips for working at home successfully.
Great tips! I have been going back through older posts and trying to put pictures together into longer collages for pinterest. It is definitely increasing the number of repins I get.
I’m working on the same thing!
Great tips for pinnable collages!! I love looking at how others set up their pinterest collages, I agree words are important.
Thanks, Tammilee!
This is perfect! I have been working on my images a lot this year, and I will apply your tips to help me get better!
Glad to help, Chelley.